
The Ultimate DIY Guide to Installing Curtain Tracks Like a Pro
Tired of flimsy curtain rods that sag or noisy tracks that rattle? Installing a durable, smooth-gliding curtain track is easier than you think—no handyman skills required! This step-by-step guide will walk you through how to fit curtain tracks perfectly for bay windows, large spaces, or standard UK windows.
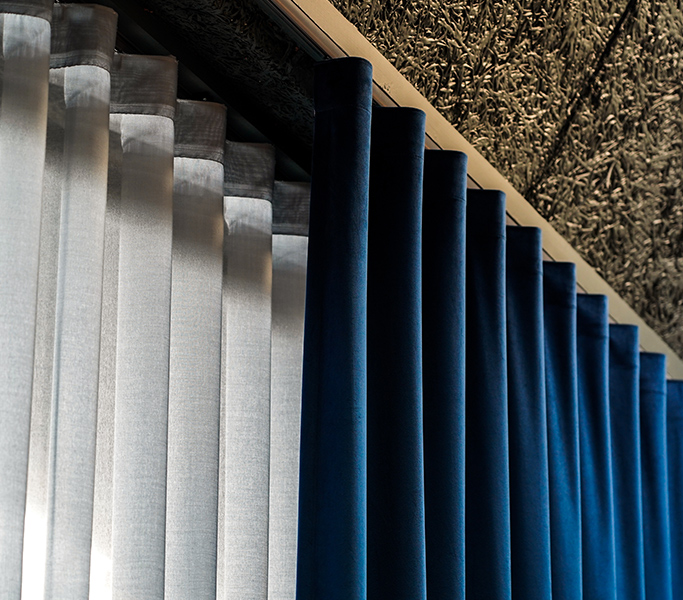
- Sleek & discreet – Almost invisible when installed
- Silent operation – No metal-on-metal scraping
- Heavy-duty support – Holds blackout & thermal curtains
- DIY-friendly – Most systems include all brackets & screws
What You’ll Need
- Your curtain track kit (includes track, gliders, brackets, screws)
- A tape measure & pencil
- A spirit level (critical for straight hangs)
- A drill (or screwdriver for plasterboard)
- Wall plugs (if not included)
Step-by-Step Installation Guide

1️⃣ Measure & Mark Your Fixing Points Decide if mounting to the ceiling (cleanest look) or wall (easier access). For ceiling mounts: Mark positions 5-10cm from the window recess to avoid obstructions. For wall mounts: Place brackets 15-30cm from each end, with max 50cm spacing between supports. 📌 Pro Tip: Use masking tape to test curtain clearance before drilling!
2️⃣ Drill & Fix Brackets Pre-drill holes (prevents cracking plaster). Insert wall plugs (essential for brick/plaster). Secure brackets using a spirit level—crooked tracks ruin the look!
3️⃣ Attach the Track & Test Glide Snap the track into the brackets (most systems click-lock). Slide curtains on and test movement—adjust if any snags.
4️⃣ Final Checks
✔ Do curtains clear the window sill?
✔ Does the track glide smoothly?
✔ Are all brackets tight & secure?
🎉 Done! Enjoy hotel-quality curtains in under 30 minutes.
Final Thoughts
With the right track and 10 minutes of prep, you can achieve a luxury finish without a handyman. Whether you’re renting or own your home, a properly fitted track makes all the difference.
Got questions? Drop them below or DM us on Instagram for personalised advice